Tuesday, 25 October 2011

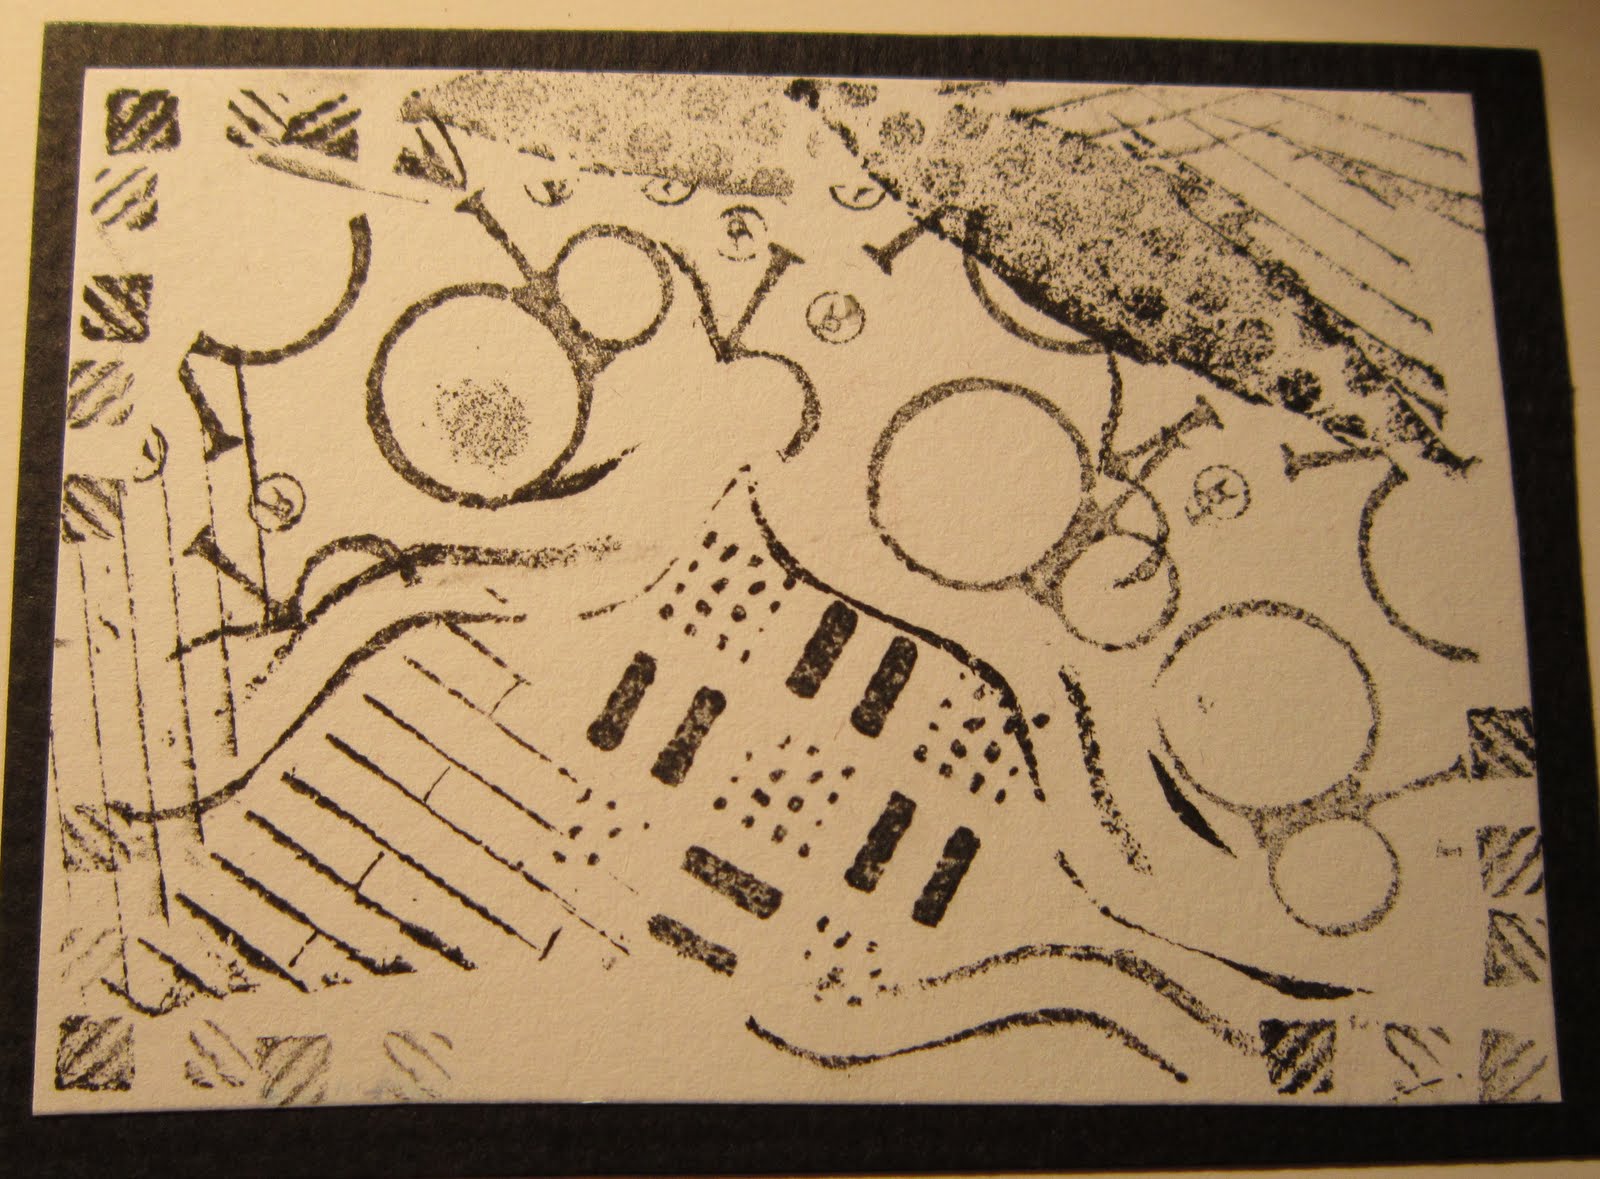
flip flop printing

We had a good time at the recent flip flop print workshop at the conference.
First we used pieces of cut up flip flops for a variety of printed ATC cards.
Later we heated the foam and impressed our own designs but I will share this
process in another post.  Here are the results of the flip flop sole prints......


Thursday, 13 October 2011

pumpkin lids

I have been fun knitting some little pumpkin lids for
the new additions to the patch!

Friday, 7 October 2011

fall prints

piles of leaves and little people... lots of fun in the fall!

Monday, 19 September 2011

tatting

We had a long journey across country this month and with GPS there is
not much need for my services as navigator!  That left me lots of time
to do some tatting... little flowers were easy and work into nice
greeting cards.  A bit of watercolour added and they are ready!


Wednesday, 14 September 2011

Freshstart conference

I'm presenting at FreshSTART for the Ontario Art Educators Association on
October 15.  The group has undergone lots of changes and I am excited to
be part of the new roll out this fall.  My workshop FLIP FLOP printing will
involve using all kinds of easily accessible foam and rubber objects to create
moldable stamps.
If you're an Ontario Teacher why not join us??!!
It promises to be a fun and informative day!

http://www.osea.on.ca/home.html

Friday, 9 September 2011

over 1000

Whooee, I just made 1000 hits this week.  It has been a new adventure for me
doing the blog but since my article in Quilting Arts went up I have enjoyed
posting art as I go.  I have lots to share from our trip west to Vancouver Island!

Friday, 2 September 2011

eraser carving

It is always lovely to come back to carving and printing
after being immersed in other projects for a while.


Wednesday, 24 August 2011

tiny 3d house

I recently made a 3d house from a net pattern in Cloth Paper Scissors
magazine.  The "coffee" house is made completely from recycled coffee
carry out materials..... stir sticks, cups, plastic lids and coffee beans!


Saturday, 20 August 2011

paste resist tutorial

OK, so we're in the midst of finishing our cabin and have all these little  pieces of wood laying around just begging me to do some artwork.  (Yes, stuff in my environment talks to me about possibilities!)  I wrapped them in muslin and was ready for paste resist fun!


Start by wrapping some wood with muslin. Pull tight and hold in place with a few staples on the back. 
Mix flour and water... the mixture is up to you but it should be spreadable with a brush. This isn't gravy so lumps are OK!


Spread flour paste liberally over muslin board. I used a foam brush. Leave it to dry thoroughly.  


And now the fun part!  When the flour is completely dry, remove the muslin from the board and crumple! Make sure you crumple the whole piece of fabric as the crinkle lines are where the paint will seep through and make the design! Next, spread out your muslin and cover completely with acrylic paint of your choice. The craft types in small bottles are a good consistency.  Now, leave this to dry completely again! 


When the paint is completely dry you can crumple your work and put it in a bucket of water to soak for a few minutes. This will loosen the paint and flour which then can be scraped off with a knife or flat blade of some sort. As you scrape the crackle design will appear. Oooooh  that is fun to reveal! 
Here is one I did with black paint!
And here is one I scratched with circles in the wet paste before drying.  The crackling was added after it dried! 


Questions.... ideas?  I would love to hear from you  and share ideas. I respond to all comments.

If you would like to link or share with someone else please credit my site and send me a quick note. 

Monday, 15 August 2011

blackberry jam and dye

My better half helped pick blackberries with me and then I made a
batch of blackberry jam pictured here.  After crushing some of the berries
to remove the seeds I just had to use the pulp to dye some fabric..... ooooh
what a beautiful colour! 

And here is the dyed muslin..... all ready for printing and stitching!